Binoculars for Birdwatching: A Beginner’s Setup Guide
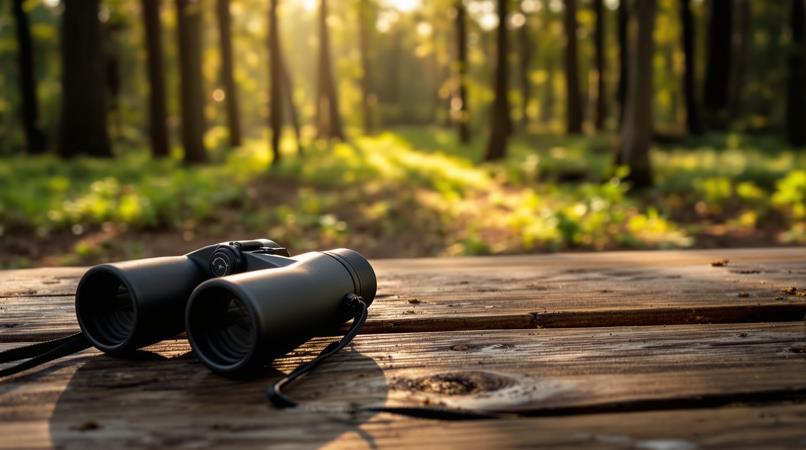
The right binoculars make it easier to find a bird hold it in view and notice details before it disappears. The challenge for a beginner is sorting specifications from figures that look impressive on a box. Affordable models can be perfectly suitable. They still involve trade-offs in weight, brightness focus speed and build quality. Start with the way you will actually observe then set up the instrument and practise a few habits that matter more than small differences between models.
Pick a starting configuration
For many new birders 8x binoculars are the easiest place to begin. The first number is magnification: an object appears eight times closer than it does with the eye subject to the usual limits of focus and atmospheric conditions. Higher magnification can show apparent detail at a distance but it also makes hand movement more obvious and can make a moving bird harder to find.
A 10x model can suit habitats, shorelines or distant raptors when the user has steady hands and a clear view. It is not automatically an upgrade for woodland or moving birds. An 8x model often gives a view and a wider practical window for locating a subject.
The second number is the diameter in millimetres. An 8×42 binocular has 42 mm lenses while an 8×32 has 32 mm lenses. Larger objectives can collect light but they also tend to add bulk and weight. A smaller model may be easier to carry all day and less tiring during a walk.
For use, 8×32 and 8×42 are sensible configurations to compare. The smaller size is attractive for travel, daytime woodland. Anyone sensitive to neck weight. The larger size may be more comfortable near dawn, dusk or under cover provided the extra size does not make you leave it at home.
Do not choose from magnification alone. A binocular that is theoretically brighter but uncomfortable to hold may produce useful observations than a lighter model you can bring up quickly.
Read the specifications without overrating them
Exit pupil is calculated by dividing diameter by magnification. An 8×42 binocular therefore has a 5 mm exit pupil while an 8×32 has a 4 mm exit pupil. This is the circle of light visible behind the eyepiece when the instrument is held away from your face.
A larger exit pupil can make the view easier to use in conditions and can be more forgiving of slight eye-position errors. It does not guarantee an image. Glass quality, lens coatings, baffling, alignment and the condition of the users eyes also affect the result. In daylight the difference may be difficult to notice.
Field of view describes how much area is visible through the binoculars usually given as an angle or as a width at a stated distance. A wider field can help when tracking a bird in flight or finding a bird quickly in a canopy. Magnification, optical design and eyepiece design all influence it so compare the stated figures than assuming that one configuration always has the wider view.
Close-focus distance matters for insects, nearby birds and garden observation. It is a specification but real use can vary with how precisely the binocular focuses and whether both eyes are comfortably aligned. If your usual subjects are close to a feeder check this figure before buying.
Roof and Porro prism designs describe internal optical layouts. Either can produce a view. In a low-cost purchase inspect the instrument instead of treating prism type as a guarantee of quality. Smooth focus, reliable alignment, sensible eye relief and decent coatings are useful buying checks than a single label.
Look for wording such as multi-coated but read it as a description of coated surfaces, not proof of a particular level of performance. Coatings can reduce reflections. Improve light transmission. They cannot correct alignment, rough mechanics or disappointing glass.
Set the binoculars to your eyes
A careful binocular setup prevents complaints that are wrongly blamed on the optics. Adjust the hinge first so both eyepieces line up with the distance between your eyes. You should see one comfortable image rather than two circles or a dark crescent at the edge.
Next close your eye or cover the right objective without pressing on it. Use the central focus wheel to make an object sharp through the left side. Then open the eye close or cover the left objective and use the diopter ring near the right eyepiece to sharpen that side. Reopen both eyes. Use only the central wheel for normal focusing.
The diopter setting compensates for differences between your eyes. It is not a focus wheel to adjust every time. Marking its position lightly or remembering where it sits can save time after another person uses the binoculars.
Twist-up eyecups deserve attention. With glasses they may need to stay lowered so your eyes sit close to the lenses. Without glasses raising them can help block stray light and place your eyes at a distance. If you see blackouts when you move your eyes slightly adjust the eyecups and your face position before deciding the model is unusable.
Set the neck strap short to keep the binoculars from swinging while walking. Do not tighten it much that raising the instrument becomes awkward.
Check binoculars before heading out
Budget optics vary, so perform a few simple checks when possible. Rotate the focus wheel through its range. It should move evenly without grinding, excessive slack or a sudden stiff section. The diopter ring should hold its setting than drifting during ordinary use.
Look at a contrast distant edge, such as a roofline or branch against the sky. The image should remain acceptably sharp across the viewing area and the two sides should agree. If your eyes feel strained you see double edges or one side refuses to focus with the other stop and investigate the adjustment before using the binoculars in the field.
Check the objective and eyepiece glass for dust smears or scratches. A little dust inside does not automatically make a binocular useless. Damage, condensation or a persistent haze is a warning sign. Do not judge brightness through a shop window or from a product photograph; those conditions do not reveal how the instrument behaves outdoors.
Water resistance is useful. Terms vary. A weather-resistant binocular may tolerate rain while it may not be designed for immersion. Keep caps carry a small lens cloth and allow a cold instrument to acclimatise gradually if condensation forms.
Build habits that help you find birds
Finding the bird is often harder than focusing on it. Start with both eyes open and look directly at the bird before lifting the binoculars. Keep your gaze on the spot raise the instrument without moving your head then make small focus adjustments. Swinging the binoculars around while searching usually loses the subject.
Use landmarks. Note a branch, fence post or patch of bark before the bird moves. If it flies follow the direction and distance of travel then search from the known point rather than scanning the entire sky.
Brace your elbows lightly against your body. Rest them on a rail when practical. A shoulder harness or a simple strap adjustment can reduce swinging. Steady hands still matter more than accessories. For viewing, sit or lean against a stable support.
Focus on the birds eye or head area when possible. Plumage detail may be easier to assess after the subject is sharp and a quick focus change can be necessary when a bird moves between branches. Keep the lens caps off only while observing; loose caps are easy to lose so. Store them consistently.
Avoid chasing differences in specifications after you have found a comfortable well-aligned pair. The practical test is simple: can you carry it locate a bird focus quickly and hold a view without eye strain? For a purchase prioritise comfortable 8x handling or a similarly manageable configuration a smooth focus wheel a useful field of view and honest build quality. Then practise the setup at home, on branches and garden visitors before relying on it for a full day outdoors.